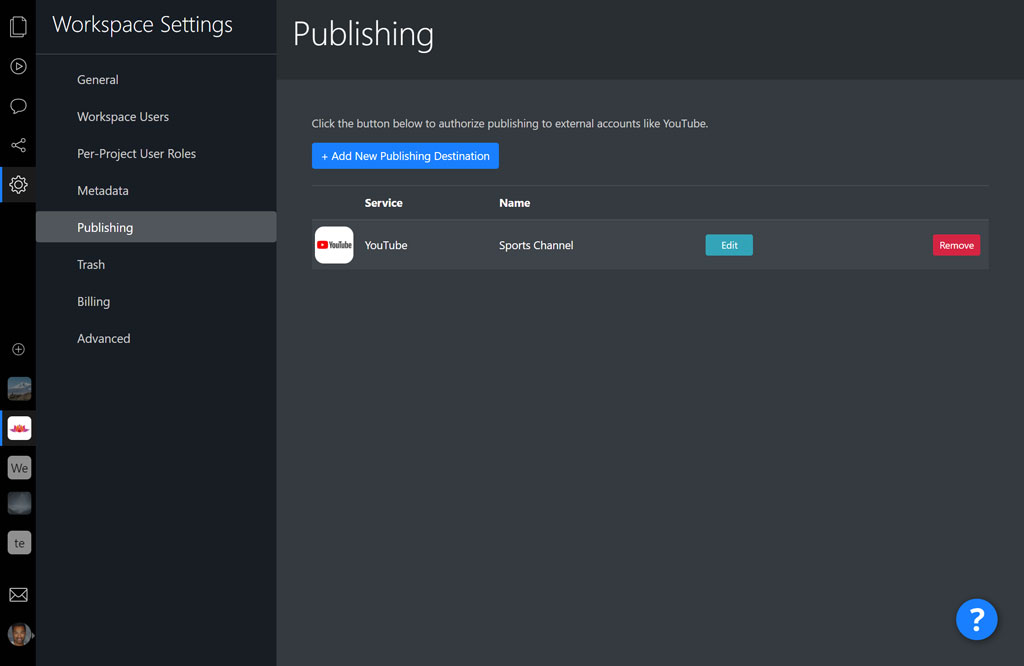
In the Workspace Settings Publishing screen, click the button at the top to add a new Publishing Destination. Publishing Destinations are third party services that the platform can publish your content to, such as YouTube and Vimeo.

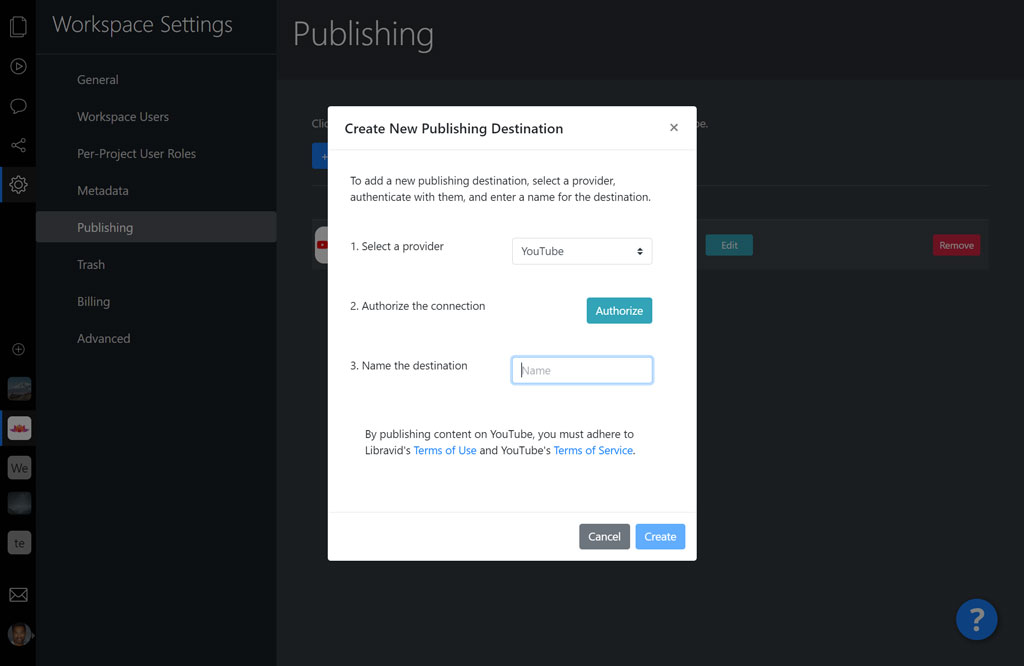
In the dialogue that launches, select an available Publishing Destination from the dropdown. Click the Authorize button to launch a popup window asking for your login credentials with the third party service. Make sure your web browser allows popups so you see the login prompt. The popup window may ask for your login credentials and to approve permissions to publish to the third party service on your behalf.

Once approving, the popup window should automatically close and the Authorize button should have a checkmark and say “Authorized”. Then, enter a name for the Publishing Destination to recognize it in the future (in case you have multiple destinations on the same service, for example, multiple YouTube channels). Click the Create button and the destination should be listed on the page.
If you want to edit the destination, click the Edit button. You cannot change the provider after a destination has been created, but you can change the name for the destination. You can also re-authorize the connection if need be, in case the authorization is broken. This can happen if the third party platform revokes the credentials provided, which you can often do from the security settings on other platforms.
If you want to remove a destination, click Remove. You will no longer be able to view analytics for files published to that service. Published files will remain published on the third party service, and you will have to log into the third party service if you want to remove those published files.